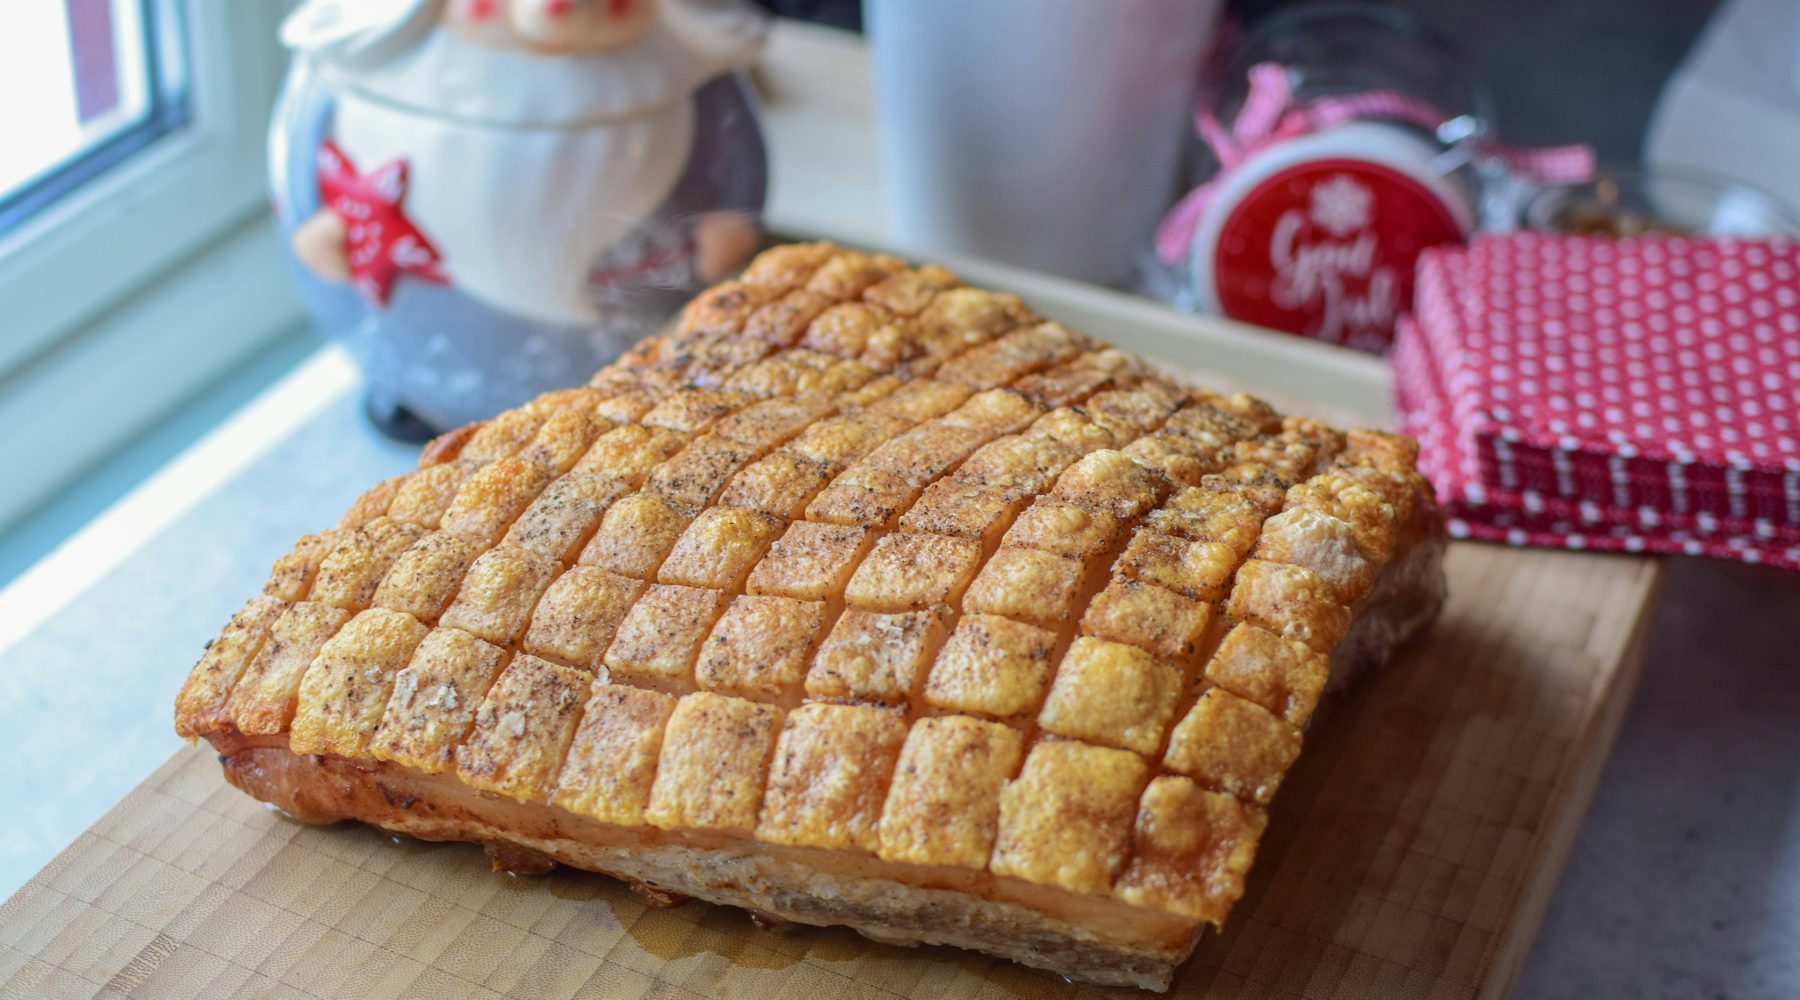
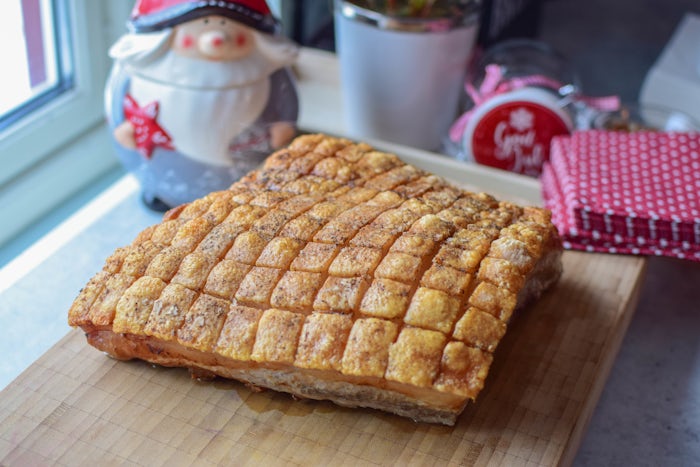
Norwegian Christmas Pork Belly - Tender pork with a crispy crackling
There is a good reason why this is one of Norway's most popular pork belly recipes!
Ingredients
- 2 kg good quality pork belly
- 0,5 l water
- 0,5 l dark beer
- 1 pcs onion
- 2 pcs shallots
- 4 cloves garlic
- 2 pcs carrots
- 2 pcs star anise
- 2 pcs bay leafs
- coarse salt
- kosher salt and black pepper
I was grown up with pork belly on Christmas eve, and Christmas isn't complete without it. When I was making it for the first time on my own I was pretty nervous! If I only knew what I know now, I wouldn't have been stressed at all. There are actually a couple of tricks to consistently make perfect pork belly.
So, if you're making pork belly this christmas, you have to read this recipe. Here I will explain thoroughly a fantastic method to prepare the pork belly and how to make an amazing sauce from the stock. There are a few steps that are crucial to getting a good result. Here you will find video instructions and a thorough recipe you can follow step by step.
Step 1
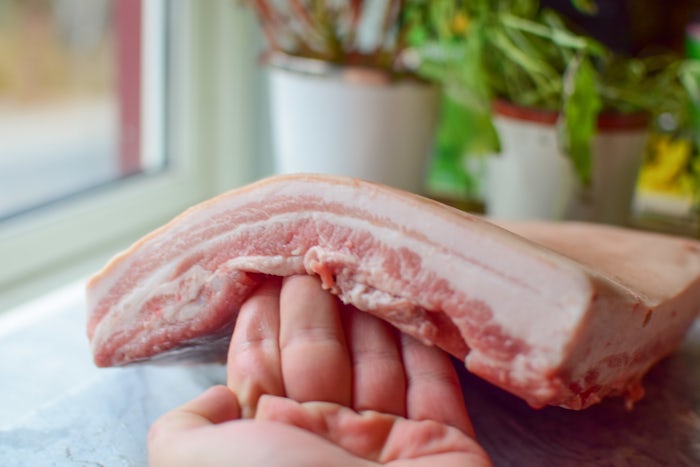
How to choose the right porkbelly - First and foremost, you have to buy a good quality pork belly. This is crucial to get a good result. I find it strange how people run around to find the cheapest pork belly for the most important dinner of the year. Buy a fresh pork belly. I like to buy it from farms and brands that treat their animals well! Buy a piece that looks good and always choose good quality pork bellies. I estimate 500 grams per person when I cook. Find some pieces with good marbling in the meat. Marbling is the thin strips of fat throughout the meat. This makes the meat very juicy.
Step 2
Preparations - You have to start three days before you're going to eat it. Good hygiene is important when you're working with a piece of meat for this long. Clean hands and equipment is key. Get your pork belly and slice squares in the rind. Make sure that they're not too small, about 1,5 cm x 1,5 cm is perfect. Make sure that you only cut deep in the fat and not in the meat!

Step 3
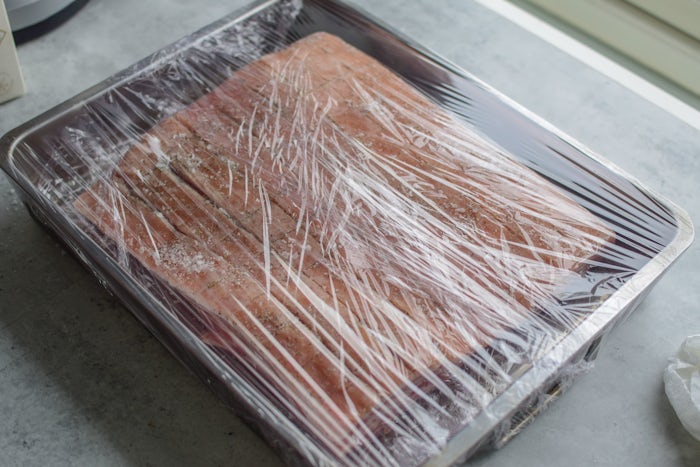
Get a baking tray with tall edges, like the one I use, and fill the bottom with coarse salt. Push the pork belly, rind side down, into the salt so the entire rind has contact with the salt. SALT IS THE KEY TO A CRISPY RIND. Cover it well with plastic wrap and put it in the fridge. Let it rest for 1-3 days. The skin is hard material and it has to be broken down by the salt if you want that crispy rind.

Step 4
When the pork belly has rested in the fridge for 1-3 days, take it out of the fridge and wash it in the sink till all the salt is gone. Empty the baking tray for salt and wash it. Dry the pork belly with a paper towel and put a good amount of kosher salt and fresh ground pepper on it.


Step 5
Put it back in the baking tray, wrap it up in plastic wrap and let it rest in the fridge till the next day.
Step 6
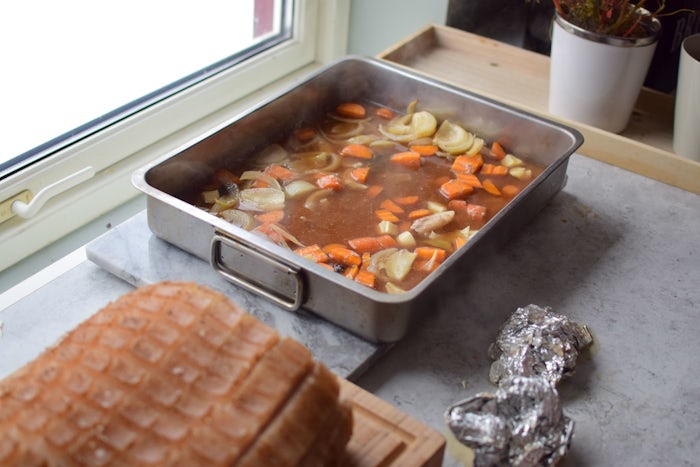
Preparations for the day you're eating it - Start with taking the baking tray out of the fridge and remove the plastic wrap. Now we have to steam the pork belly. Cut all the vegetables and lay them down in the tray with the urbes. Place the pork belly on top and pour over water and beer. In each corner I also put some oven safe cups before I wrap it up in aluminum foil. You don't need to use cups, but it's important that the aluminum foil doesn't touch the pork belly at all.


Step 7
Now we are going to steam the pork belly. If your baking tray isn't deep enough it's important that you use something to lift the aluminum foil up so it doesn't touch the rind. Preheat the oven to 240 degrees using the fan oven setting. Use 2-3 layers of aluminum foil to make sure that the least amount of steam pases though. Let it steam for 45 minutes.

After 45 minutes of steaming you take it out and remove the aluminum foil. Carefully lift the pork belly onto a cutting board. IMPORTANT: The stock in the tray will be used for a sauce, don't throw it away. Strain out the stock and keep it, you can place the vegetables back in the tray so you get even more stock later on. This is some delicious stock from vegetables, beer and pork belly.
TIPS - Get a sharp knife and slice the outline of squares out one more time to make sure they don't stick together. Now the rind is very soft, so it should be easier this time. The lines between the squares act as a pathway for the fat to run down. This is essential to get a crispy rind.
When preparing the pork belly to go back in the oven there is one important thing you have to do. Use aluminum foil to make sure the structure of the pork is correct. The middle part of the pork is supposed to be higher up then the sides so the fat can render and fall down into the tray. Set the oven to 90 degrees. Pour water in the tray and make sure that there is always some water in the tray at all times. Then put the pork into the oven (without the aluminum foil) and cook it for 3-6 hours. When you're cooking meat on such low heat it's not that important how long it cooks. I usually cook it for around 4 hours. The pork belly needs time to get juicy and the rind needs time to get warm so it pops out.

Step 8
One hour before serving the pork, take the pork out of the oven and turn the heat up to 240 degrees. Place it back into the oven, this is when things start to happen. The temperature is now so high that the liquid inside the rind starts to boil. Because of the salt that has broken down the skin, the liquid inside the rind will evaporate and it will start popping. The goal is to get an airy and crispy rind. Cook it for 20-30 minutes and perhaps do it with the grill setting and with the oven door open to finish it off. Most of the time this is not necessary. If you choose to, it's important to keep an eye on it at all times. I use a food thermometer to make sure that it's cooked all the way through. The internal temperature should be 75-85 degrees so the marbling is cooked.
Step 9
The meat has to rest - When you're pleased with the rind, take it out and place it on a cutting board. Don't cover it!
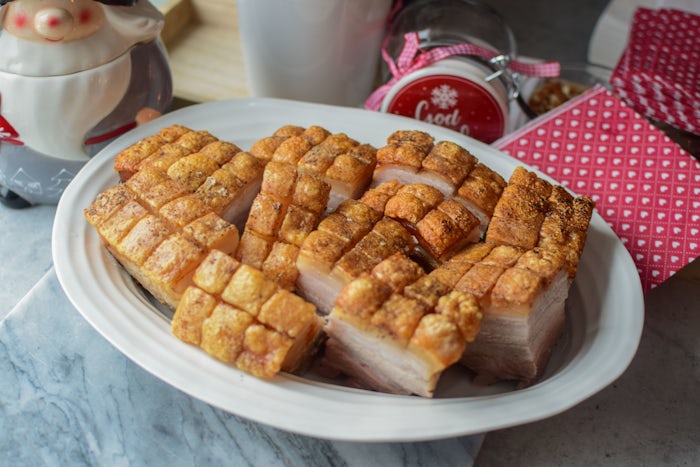
From the stock that's in the tray you make an amazing sauce. Now the pork has to rest for at least 15 minutes. Then the meat will be even juicier and the rind will be even crispier. When youre cutting the pork, make sure to cut between the rind.
Serve it with a delicious sauce, sauerkraut, red cabbage, mustard and cranberry jam. This makes for a fantastic taste.
Good luck!
Here you can see a video instruction for the whole process.
